
This is a basic tutorial for an "envelope" type purse, which can be adapted for many uses.
The first step is to figure out the desired dimensions of the finished product. Then with mental math or a trusty calculator, calculate the fabric size following these guidelines:
width: desired width + 1" seam allowance
height: desired height x 2.5

You will need two pieces (outer and liner) and one of interfacing (cut about 1/2" smaller all around) -- I like using the heavy duty kind.

Putting the right sides together with the interfacing behind, sew around the edges using using 3/8" seam and leaving a 4" opening. Trim the corners for less bulk.
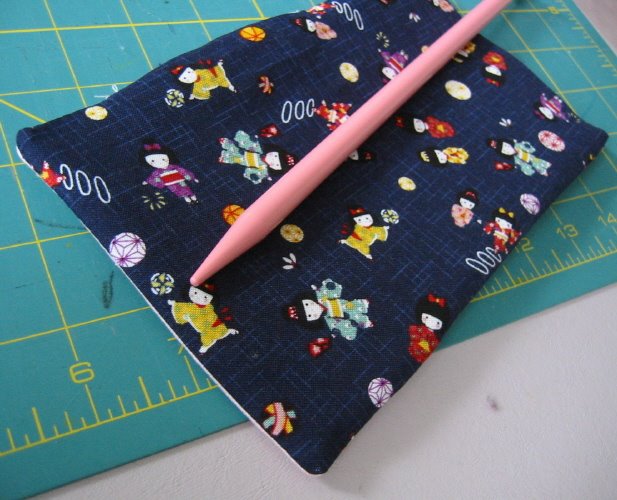
Turn inside out, making sure the corners are nice and square (I like using a big fat knitting needle) and using fingernails or an iron, press.
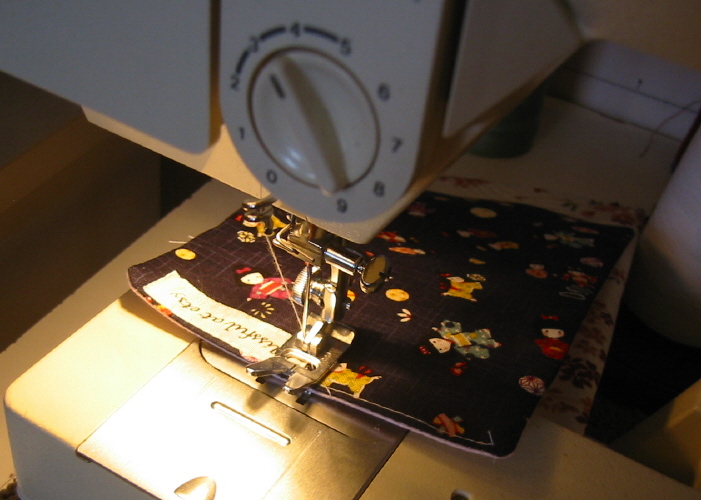
 Evaluate which end would make the more attractive flap and then top stitch the opposite end (I usually add a shop label here).
Fold up the bottom edge to the desired height and pin in place. Starting at the bottom corner, top stitch up the side, around the flap and down the other side.
Add a snap closure and it's all done! It's great for a cash, "feminine products", eyeglasses and etc.

This is my official whiplash entry in the tutorial category.

17 comments:
Great tutorial! I've been wanting to make a business card case, and you just saved me all of the trouble of planning! Thanks! (Also, ADORABLE fabric, I love it!)
Very cute! Thanks for the tutorial - I will definitely make one of these. And I agree that your fabric choice is adorable!
Great tutorial. I will have to try these out.
Great tutorial, Quenna! I just have a couple of comments:
1. You sew under a set of stairs? That's pretty cool! Sounds like a nice cubby to have all your sewing stuff in.
2. You consider those BAD pictures? I think they look great!
3. I use a chopstick to turn my stuff. I've often thought someone should come up with something that looks like a chopstick paint it a cool color, call it a "corner turner" and sell it for big bucks. :o)
Thanks!
Great tutorial, Quenna! Thanks for sharing! I can't wait to try making one of these.
ooh! thanks for the tut! i can't wait to try one!!!
Great tutorial! I've made a couple of these for gifts and they are a wonderful use of small pieces of left-over fabric. My fingers are crossed for you to win.
Can I ask where you get your shop labels?
Thanks,
Heather
awesome- thank you!
Thanks!!!
Love it.
this is adorable. i can't wait to try it! thanks!
I love this purse! looks very comfortable! and very easy to do! I love it!
i loved this purse
thank for share
Trabalho em Casa
Bravo!!! really good information. Thanks for the interesting and informative post, I find your work really inspiring.
wonderful tutorial! thanks!
These are so darn creative. I love new things to sew. There is always something new to try!
Post a Comment